Lawns have become a source of pride for suburban homes, and homeowners have started to appreciate the value of investing in aesthetically pleasing ones. HOAs are pretty strict with their guidelines regarding outdoor appearances. A healthy-looking lawn translates to a well-maintained property, which in turn increases property value, which HOA just loves.
Aesthetics aside, lawn health has many environmental benefits covered by the more pressing adverse effects – from lawn equipment requiring more gas production and water wastage to synthetic fertilizers producing more greenhouse gas. Achieving the perfect balance between the benefits and adverse effects is the key to enjoying a nice wide turf outdoors, redefining the standards of a perfect lawn.
On the other hand, a lawn is not just any yard. It would need more than a patch of grass to have a thriving ecosystem. This website offers more information about improving your lawn with grass installation. However, the foundation for a flourishing and verdant lawn begins not at the grass planting but right beneath the surface. Proper soil preparation is a fundamental part of landscaping, yet people often give little thought to the quality and type of soil they use in installing their grass.
Soil serves as the anchor for roots, a reservoir of sorts for nutrients and water, and a crucial environment for microbial life that supports plant growth. Proper soil preparation not only ensures that your grass thrives in ideal conditions but it also accommodates other plant species and living organisms to live in your lawn, creating a healthy ecosystem.

Step 1: Soil Testing
The first step in soil preparation is to conduct comprehensive soil testing. This assessment will provide critical insights about the soil’s composition, pH levels, nutrients, and potential deficiencies. Testing the ground allows you to treat any imbalances and make some amendments so it can be a feasible tool to hold the grass.
The testing process includes collecting soil samples in different areas that cover your lawn site and will then undergo laboratory analysis. The results of the investigation will then guide you on proper remedies and solutions to get your soil ready for the new installation.
Step 2: Grading a Site Preparation
Once the testing is done, you can start leveling the ground to ensure the grass is smooth and uniform before the grass installation. An even ground promotes water drainage, mitigating any potential risk of waterlogging in low-lying areas, which can rot the roots of your grass, ultimately killing the spread around that area. Heavy equipment or hand tools can level the ground and create an optimal foundation for the upcoming grass layer.

Step 3: Soil Amendments and Conditioning
Once the ground has been appropriately leveled, you can start with the necessary amendments and treatments based on the result of the laboratory analysis. These remedies can be as follows:
- Organic Matter Addition: Mixing in compost and other organic matter is essential as it enhances soil structure, nutrient availability, and moisture retention. It boosts microbial activity that fosters a healthy soil ecosystem. Check out this soil food web that explains the carbon cycle of organic compounds and microorganisms among plants, animals, and soils: https://www.fao.org/3/a0100e/a0100e05.htm
- pH Adjustment: Grass thrives in a slightly acidic to neutral soil. If you have soil with a pH of 6.0 acidity or lower, you can use lime to reinforce the pH levels. On the other hand, alkaline soils with a pH 7.5 level can be improved by adding sulfur or gypsum. Depending on need, these amendments ensure optimal nutrient is available for the roots of the grass.
- Nutrient Enhancement: Applying fertilizers containing specific nutrients your soil is deficient in is critical. This gives the grass access to essential nutrients vital for its growth and development. Grass needs macro-nutrients that are already present in air and water but will need supplemental fertilizers to be able to maximize them fully. These nutrients include nitrogen, phosphorus, and potassium, or NPK, as symbolized in grass food.
Step 4. Soil Conditioning and Final Preparation
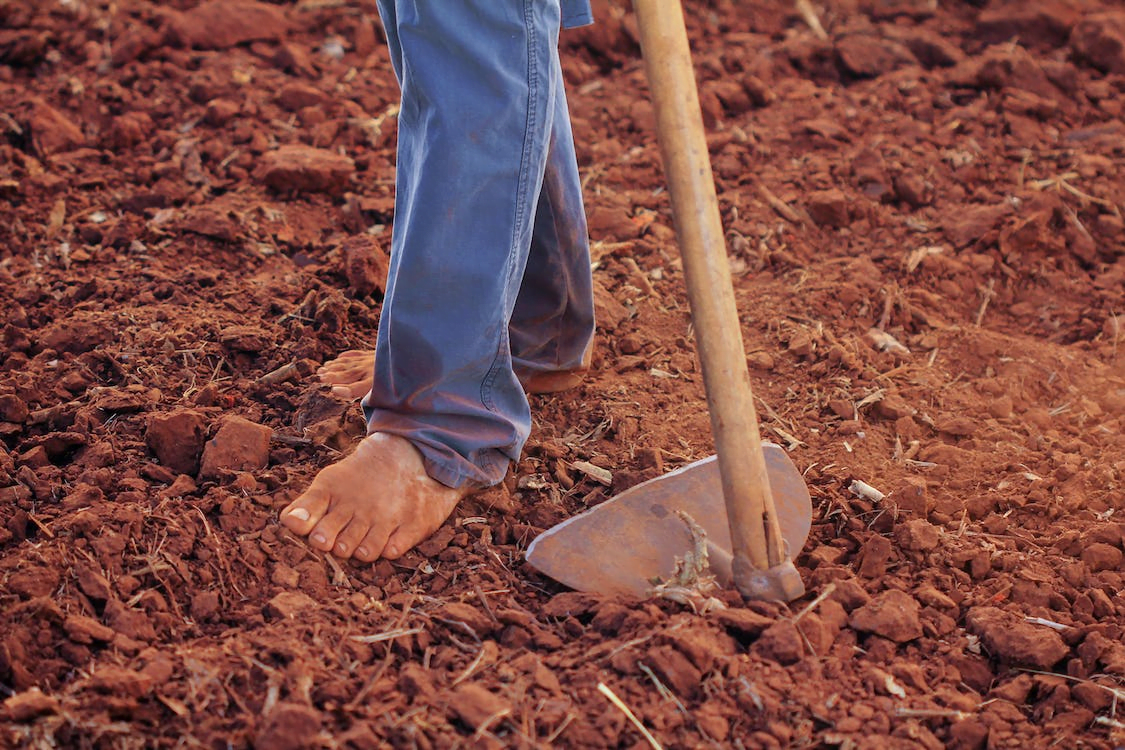
After the treatments and amendments are done, condition the soil to incorporate all the added materials appropriately. This involves tilling or plowing to properly mix the materials uniformly into the earth. Afterward, the surface is then smoothed, removing debris, rocks, or large clumps to create an ideal bed for grass establishment.

Soil preparation is the first and most crucial step to securing a successful grass installation. It sets the stage for healthy root development, efficient nutrient uptake, and the overall lushness and vibrancy of your grass. Investing time and effort in meticulous soil preparation lays the groundwork for a vibrant and enduring landscape with various environmental advantages.


Comments